


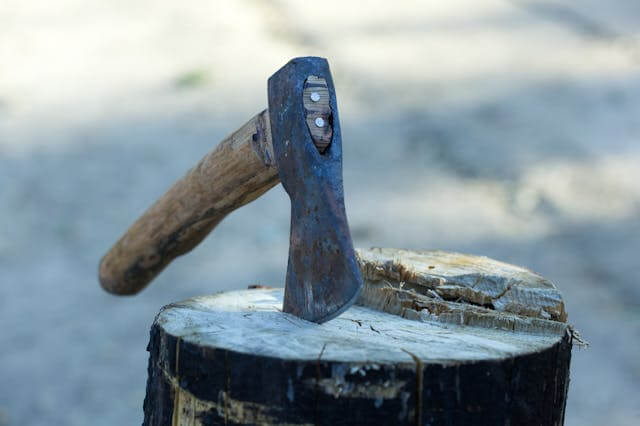
An old axe doesn’t always mean a broken tool. In many cases, a proper replacement of the axe handle is enough to restore the tool to full functionality. A good wooden axe handle can last for years if it is properly installed and properly cared for. That’s why many craftsmen don’t rush to buy a new axe. Instead, they restore the old one, step by step.
Why Axes Lose Their Handles and What That Tells You About the Tool
Most problems with axes start with a loose axe head. However, it’s important to understand the difference between a loose head and a completely worn handle. Sometimes tightening the wedge is enough, but in many cases a complete replacement of the axe handle is required. You can find useful information on axe care and the correct selection of new handles on the website forgedsteeltools.com.
Over time, the axe handle wood tends to dry out, especially if stored in a dry or warm place. The wood shrinks a little, and then thin gaps form between the metal part and the wood, which means the head will wobble. This is the main reason for most breakages.
Sometimes replacing the handle really saves the tool, especially if the metal head remains in good condition. But if the head has cracks or severe damage, even the best replacement axe handle will not make the tool safe for work.
How to Choose the Right Replacement Handle for Your Axe
Selecting a new handle is one of the most important parts of the repair process. Not all axe handles are equally suitable for different types of axes. The length, thickness, and shape should correspond to the tool’s weight and purpose.
Particular attention should be paid to the choice of wood. Many craftsmen believe that the best wood for axe handle is hickory, ash, or American walnut. Such wood species have high strength and withstand impacts well. It is also important to pay attention to the grain direction: straight fibers make a wooden axe handle much more reliable and durable.
Different handle profiles are used for different types of axes. Straight handles are often better suited for carpentry and carving work, while curved ones provide better control when you’re chopping wood. If you need hatchet handle replacement, you usually end up choosing shorter, lighter models because they are more practical for light work.
Step-by-Step: Fitting the Handle Without Frustration
To install a replacement axe handle, it’s best to go step by step. The main stages are:
- Remove the old handle and try not to damage the eye of the axe head;
- Gradually fit the new handle, removing wood only in places of excess contact;
- Check the fit after each stage of fitting;
- Correctly install a wooden or metal wedge;
- Make sure that the head is seated tightly and does not move.
Do not rush during fitting. If you take away too much wood, the fit will weaken, and it can happen fast, so the axe handle ends up loosening. A good wooden handle, the one that is well-fitted, should sit firmly without being forced, but not overly.
It’s really necessary to install the wedge properly. The wedge, is what locks the wood inside the metal opening and keeps the head from coming loose again. When all steps are done correctly, the axe will feel steady and well-balanced.
How to Finish and Protect the Handle After Fitting
After completing the work, the new axe handle wood should be coated with oil. This protects the wood from drying out, protects against moisture, and helps prevent cracking. Linseed oil is often used because it penetrates wood fibers well.
It’s also important to regularly check the tool’s condition. If the head starts to move even slightly, it is better to eliminate the problem immediately, until a new hatchet replacement handle or a complete handle replacement is required.
Simple care habits significantly extend the life of the axe. Storage in a dry place, cleaning after work, and regular oil treatment help keep the axe handle replacement in good condition for many years.
